Before tackling this section, we strongly suggest you review the Introduction to Customizations article.
Let's turn again to the admin of the home page. You have already learned how MachineTrader™ selects the correct account. In the flow below, we will examine how MachineTrader™ displays data received form Alpaca's API.

After storing the desired account variable, this flow uses a "switch node" function in this case named "Account Selector" in order to pass a request for a specific account along to the Alpaca Account Query.
The switch node contents are displayed below:
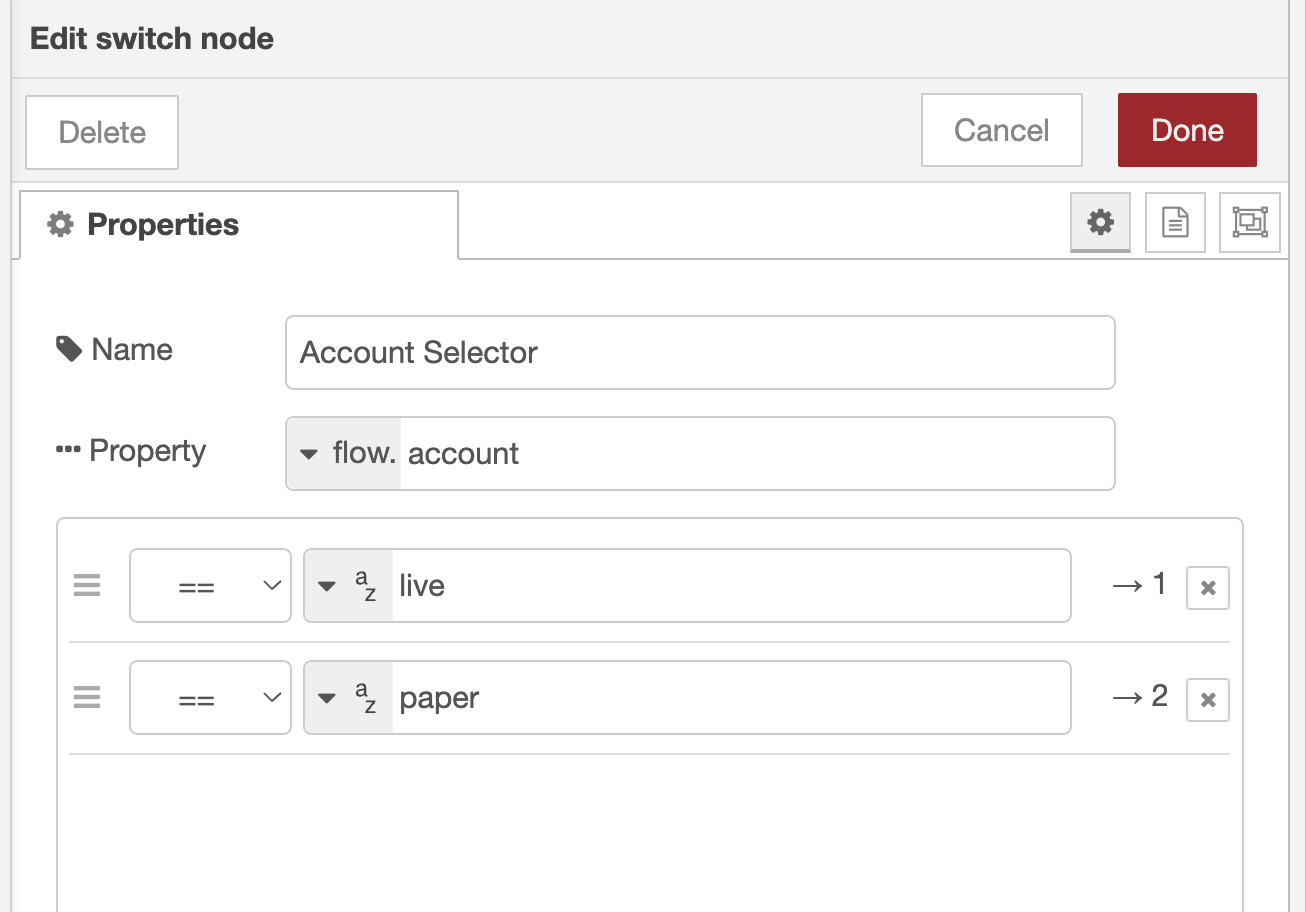
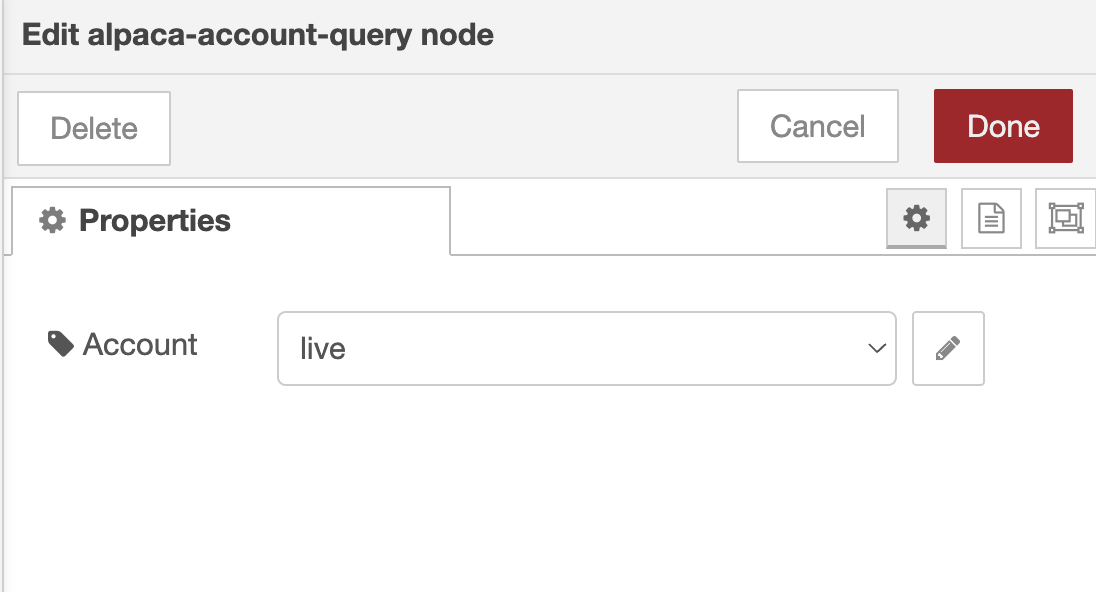
Note that this function requests the value of the stored flow "Account" variable to identify the correct account. This value is then passed to the Alpaca Account Query node which is a member of the family of Alpaca nodes designed to receive (or pass) information from the Alpaca API.
Alpaca responds to this request by sending several dozen value pairs which are parsed by the JavaScript contained in this function.
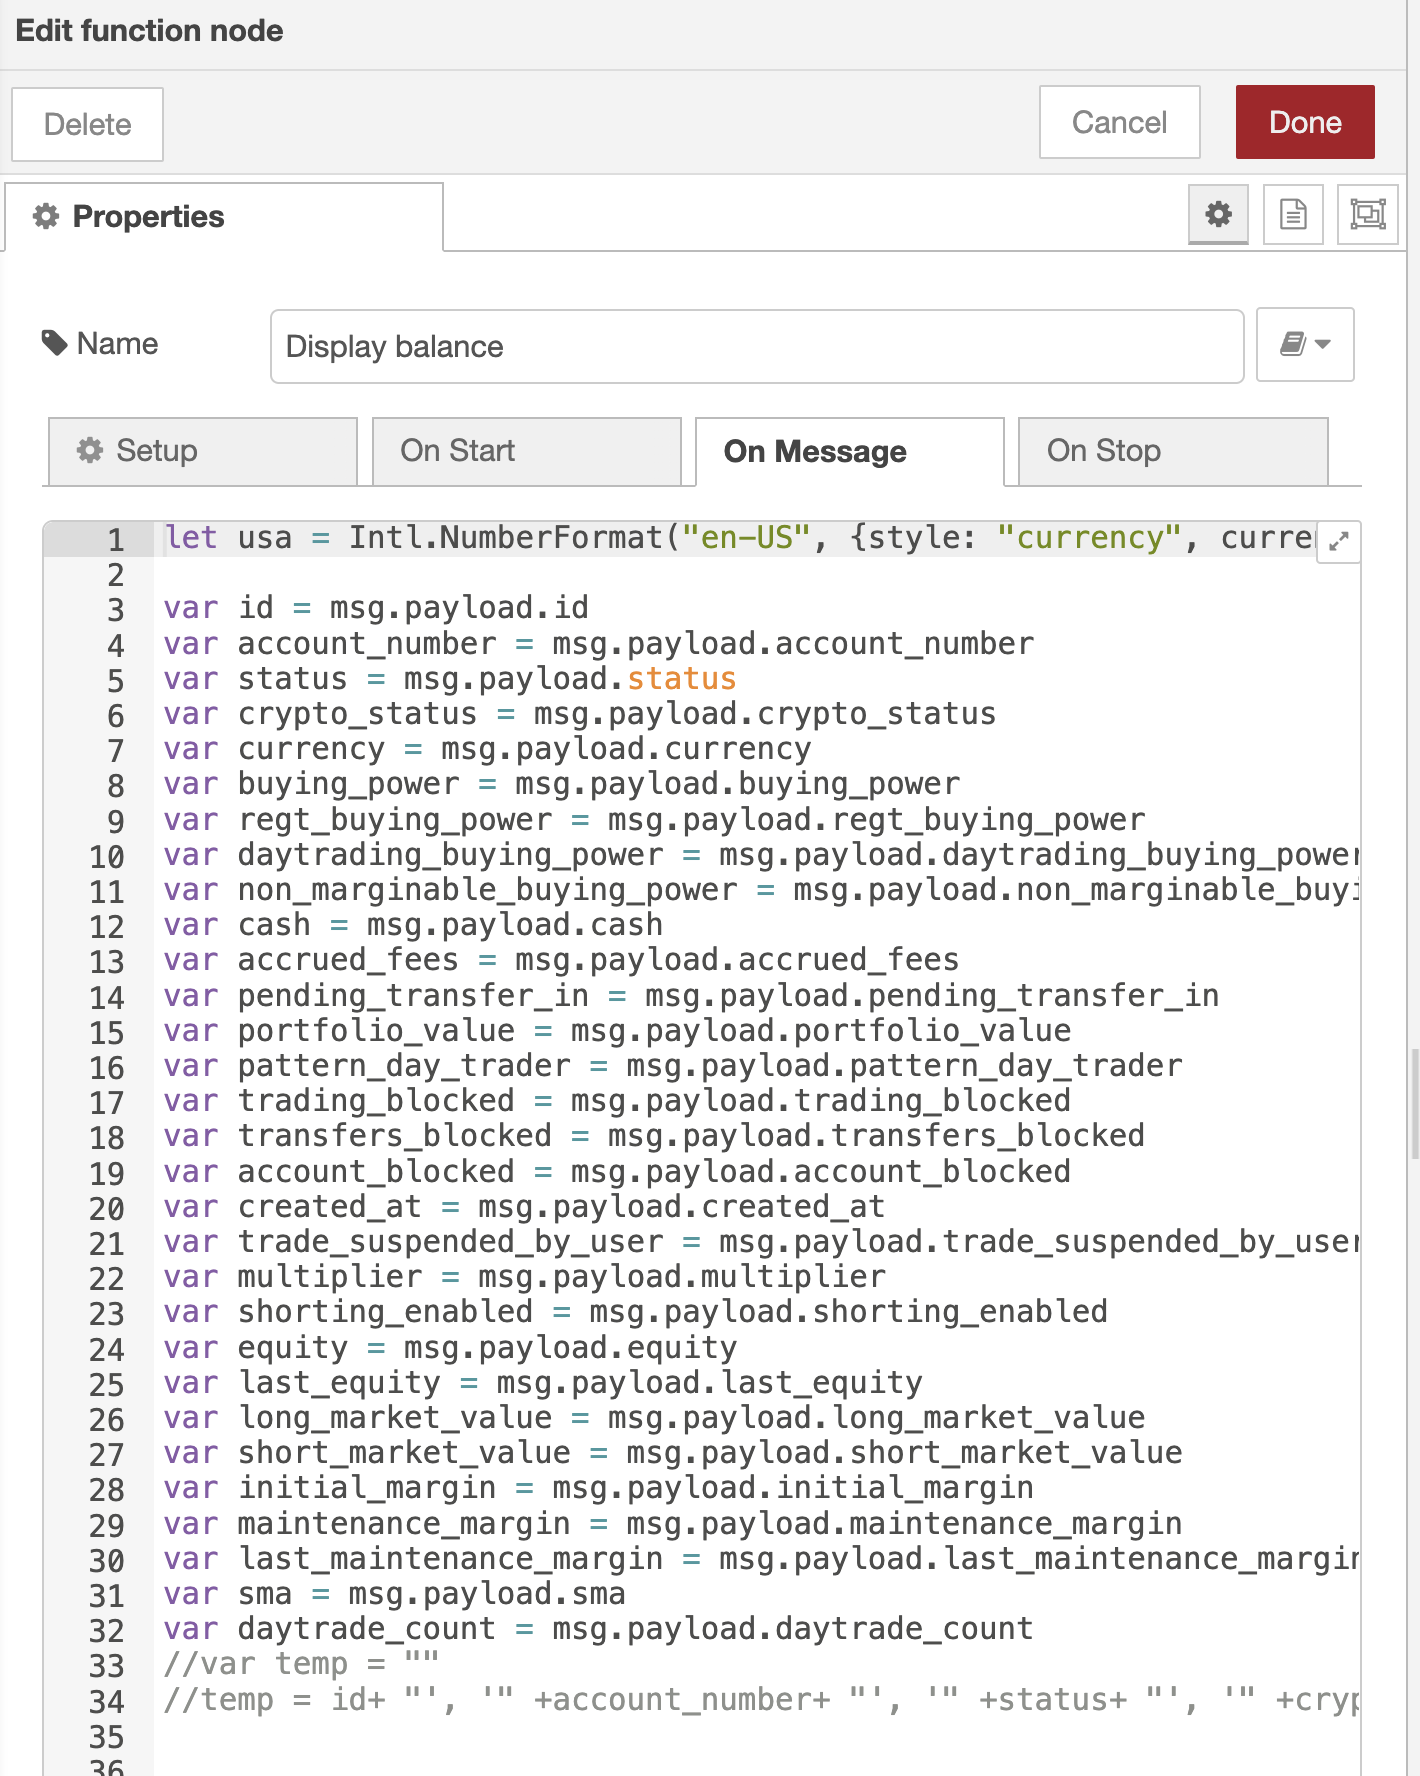
This specific "Display Account Info" function parses all of the account information from Alpaca Account Query and makes it available -- in this case -- to display on the dashboard. Lines 37-65 prepare the JavaScript formatting of the data for display on the dashboard in the final node in the flow. Beginning on lines 43, we have "commented out" the next 20 or so lines because we only wanted to display the account balance on line 40.
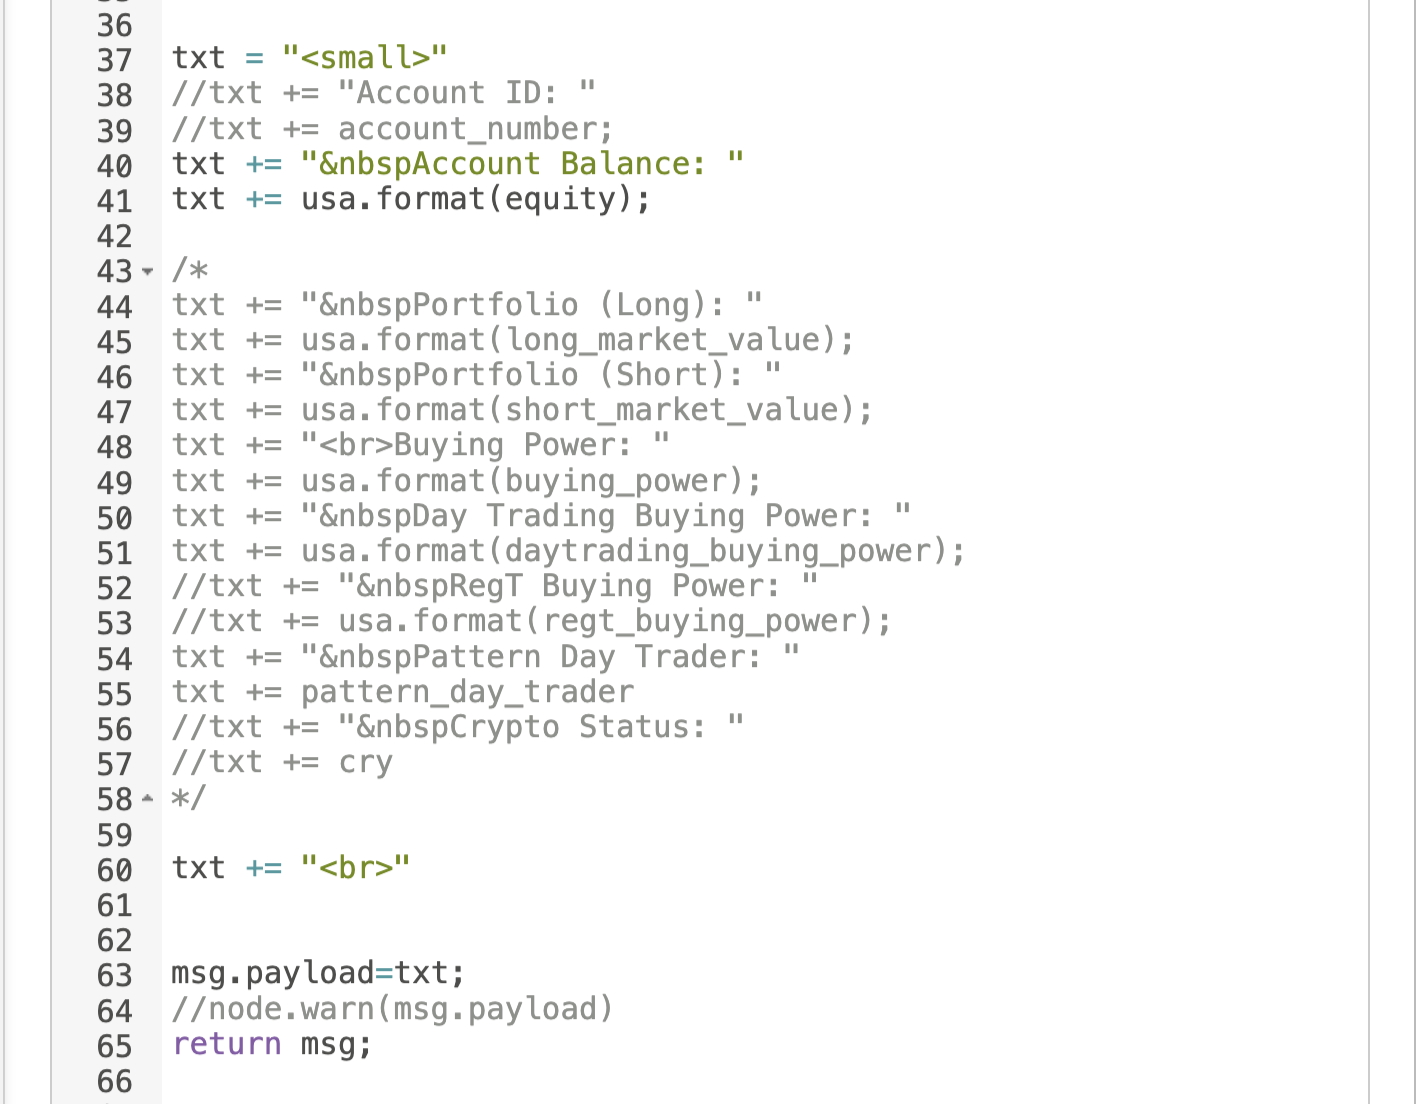
This, of course, is where the power of customization comes in. For example, if it's important for to you to display the "crypto status" of this account in your custom dashboard, you simply edit the javascript here to include it. This is what we've done, in effect, in the row below named "Display Row." We added a few additional fields we choose to display.
Now that you've created the flow for displaying the account information for one account, simply copy the set of flows and paste below, changing the Account Selector to the paper account rather than the live account.
This ends this lesson