We built MachineTrader™ with all of the functionality you need to manage your trading and investments. However, the real beauty of MachineTrader™ is the way you can customize the platform so it works best for you. With some guidance from us, you will be able to easily make changes to the back end (”admin view”) of your MachineTrader™ instance, that will customize the front end (“display view”), to give you the information you need to optimize your trading strategies.
The image below shows the display view, or front end, of the home page of your unique MachineTrader™ client instance.

Now, create a new tab in your browser and enter the identical page url, except in this case remove the "/ui/" from the end of the url. This address will switch you to the "admin" view of your instance, which exposes the plumbing that makes the application run. Your admin view should look similar to this:
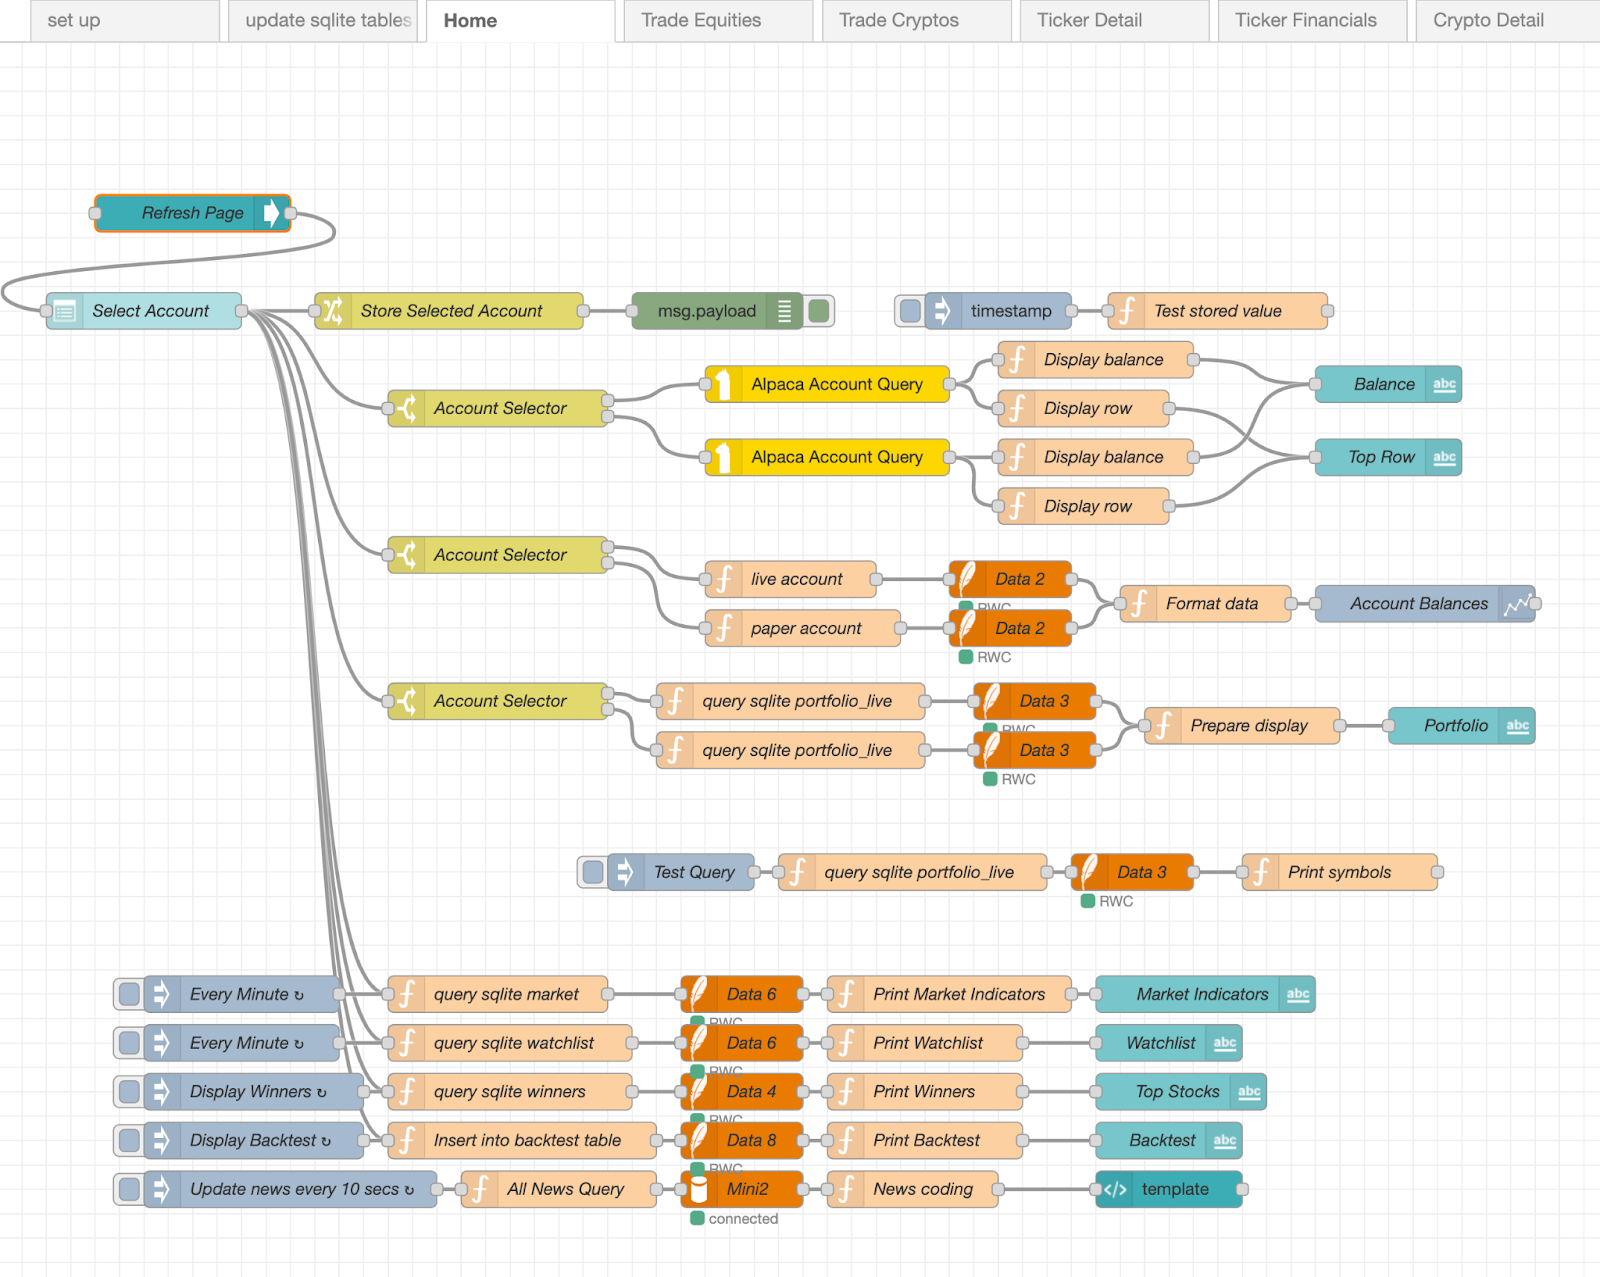
Make sure you click on the "Home" tab in the admin. The image displays a collection of rectangular boxes, each of which contains small modules of JavaScript code - we call them "nodes." The nodes are color-coded based on their type.
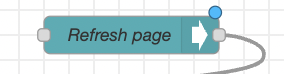
Let's click on the first node called "Refresh page." This exposes the underlying functionality of the node.
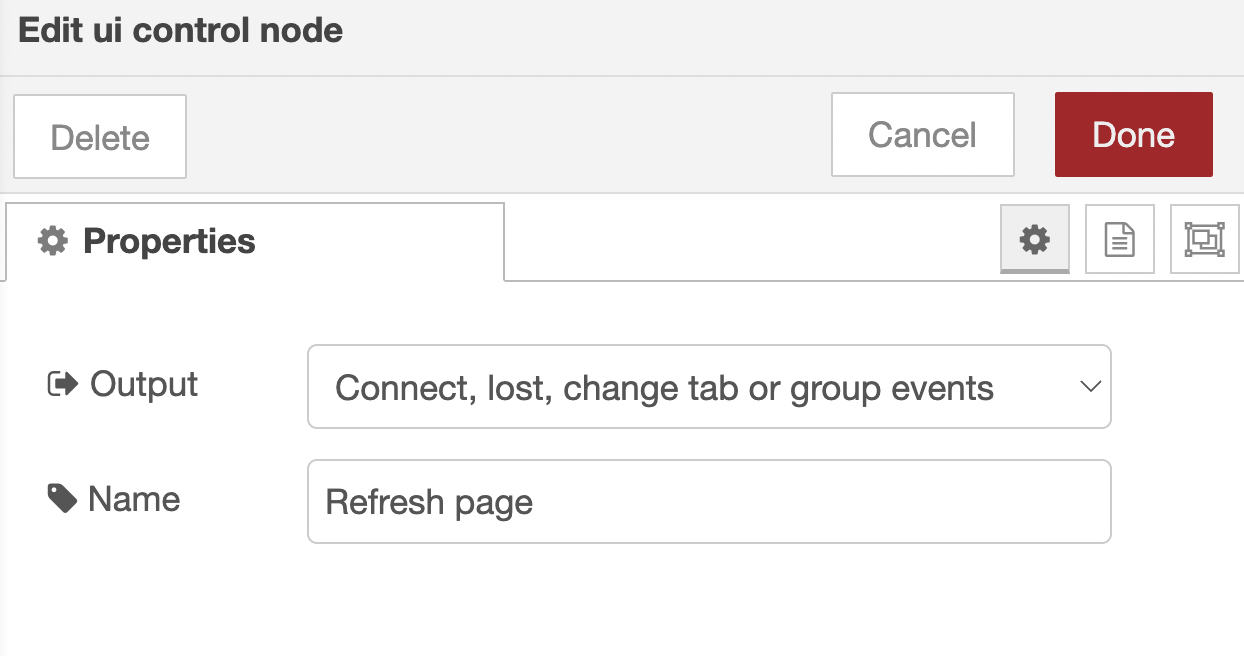
Each node shares a set of relevant properties for its type, as designated by its unique color. The "ui" nodes (teal) are nodes that control the appearance of an element in your user interface ("the dashboard"). The "ui control node" is deployed whenever you want to start a process on a signal from the dashboard, that a user has entered on the page.
Let's return to your homepage dashboard to examine what events might be taking place behind the scenes.
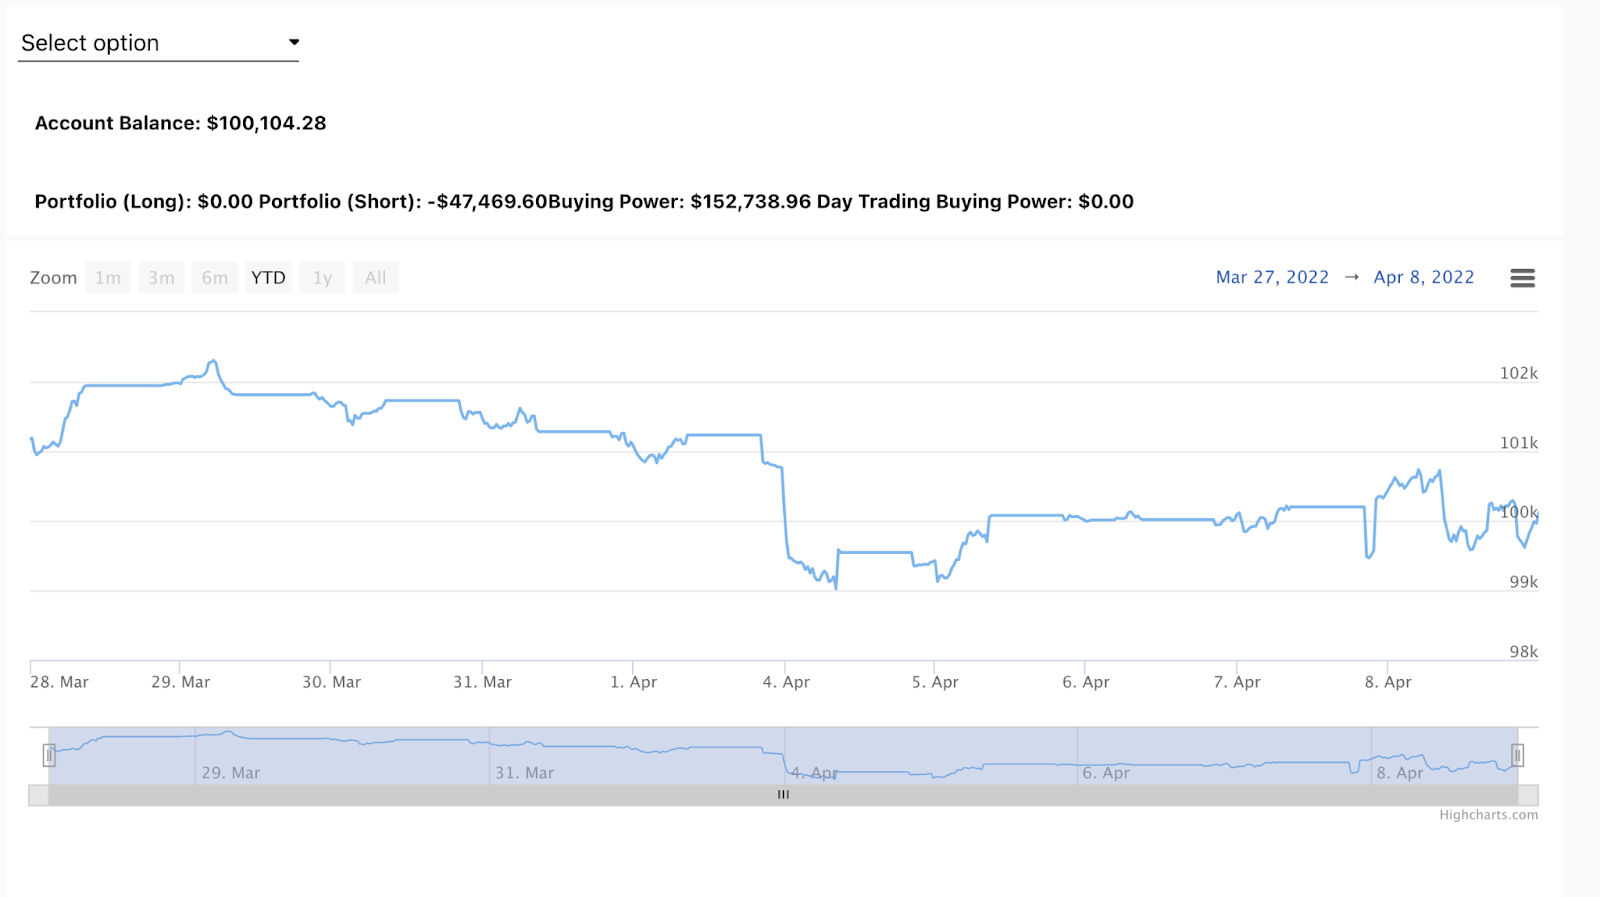
The first thing that occurs is that you are asked to select an account from a pull- down menu.
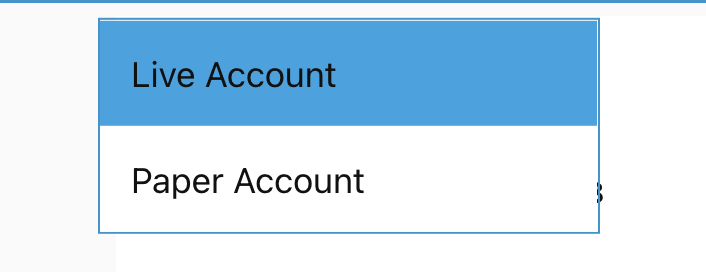
In the admin, this choice is represented by the ui dashboard node called "dropdown node". You can see under "options" below that the user is being asked to select either the "live" or the "paper" account. As you probably can imagine, all of these choices are completely configurable. You could manage 10 or more accounts (if they existed) simply by adding additional options.
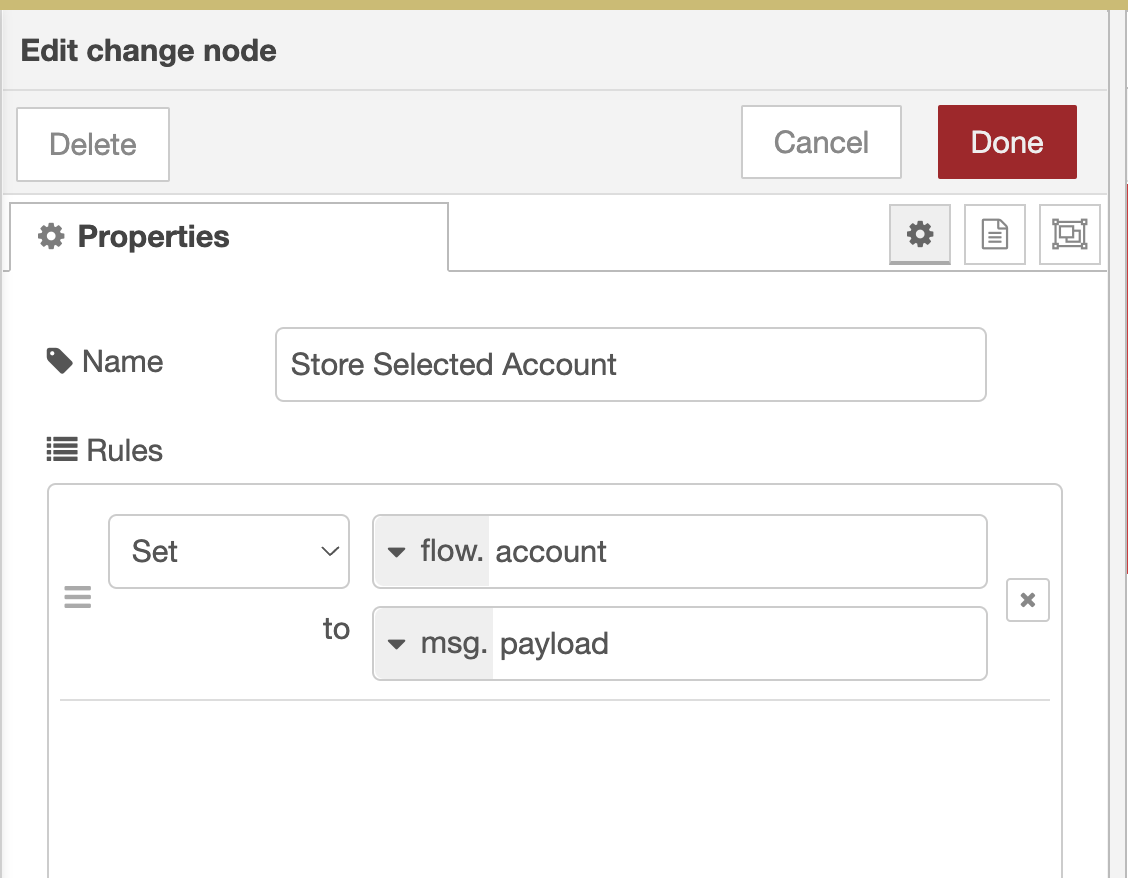
The next step is to store the choice in a variable so that other actions will know which account is being used. We store variables in function nodes (yellow). In this case, we use a special function node called a "change node" which is used to store variables. If the contents of the variable are only needed within the flow where we are working, we "set" a "flow" variable (if the variable is required elsewhere in your instance, you set a "global" variable). Attaching a "debug node" to another node allows you to see the function's output, which is stored by default as "msg.payload."

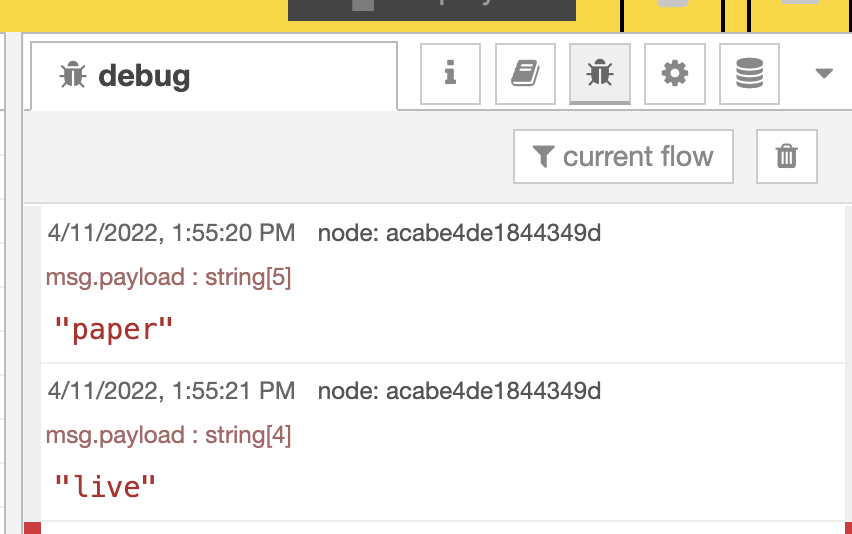
When the live or paper account is selected, the event is triggered and the msg.payload contents will be shown in the debugger (top right), after clicking the "bug" icon as shown below.
We have added a two-node flow consisting of an "inject node" and another function node for displaying the results of the stored "flow" variable. Inject nodes are one of the most frequently used nodes since they are used to kick off any process. They can be used to initiate a single event or can be set to repeat processes at recurring intervals or at specific times.
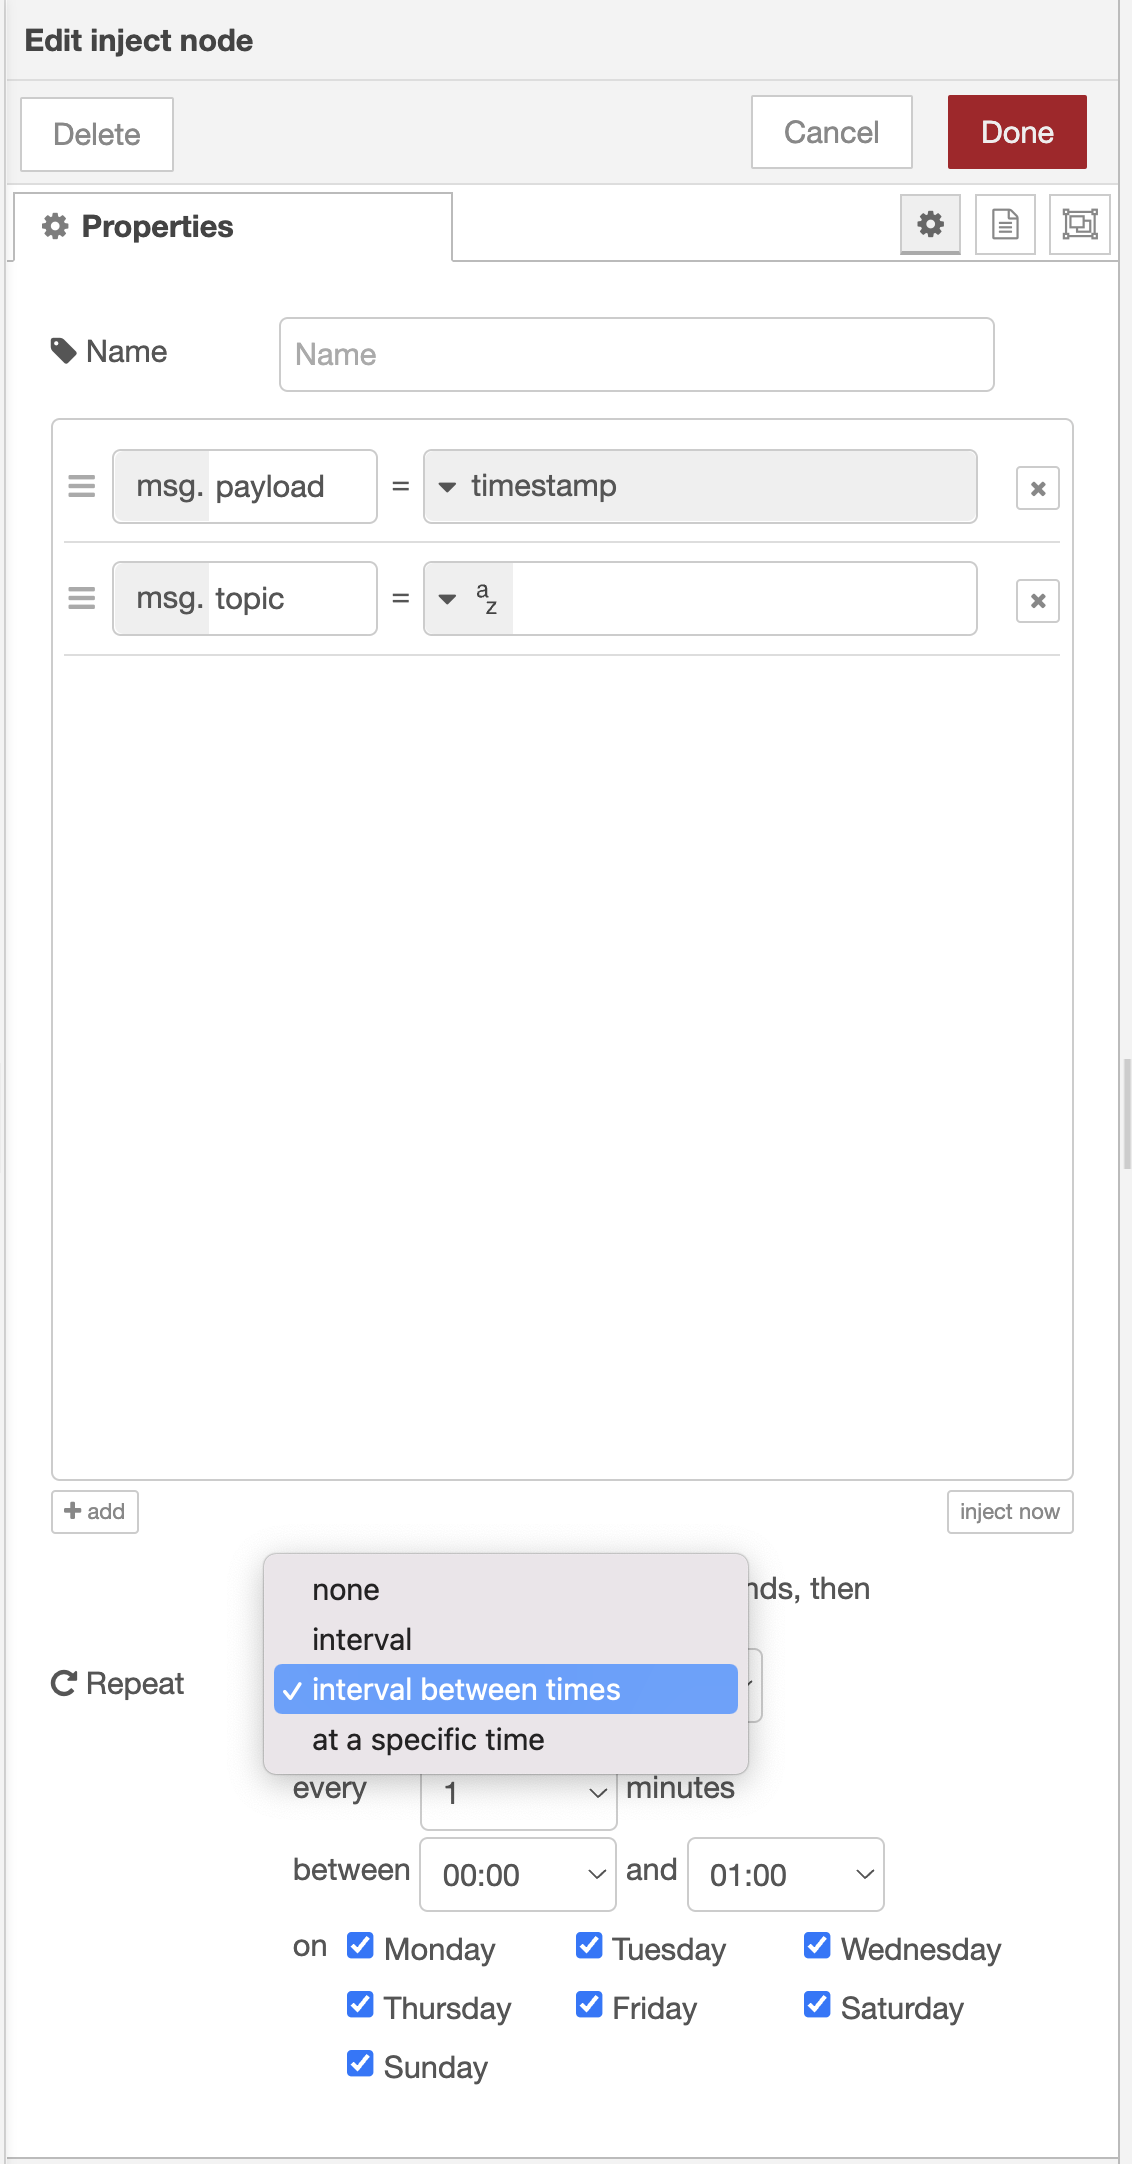
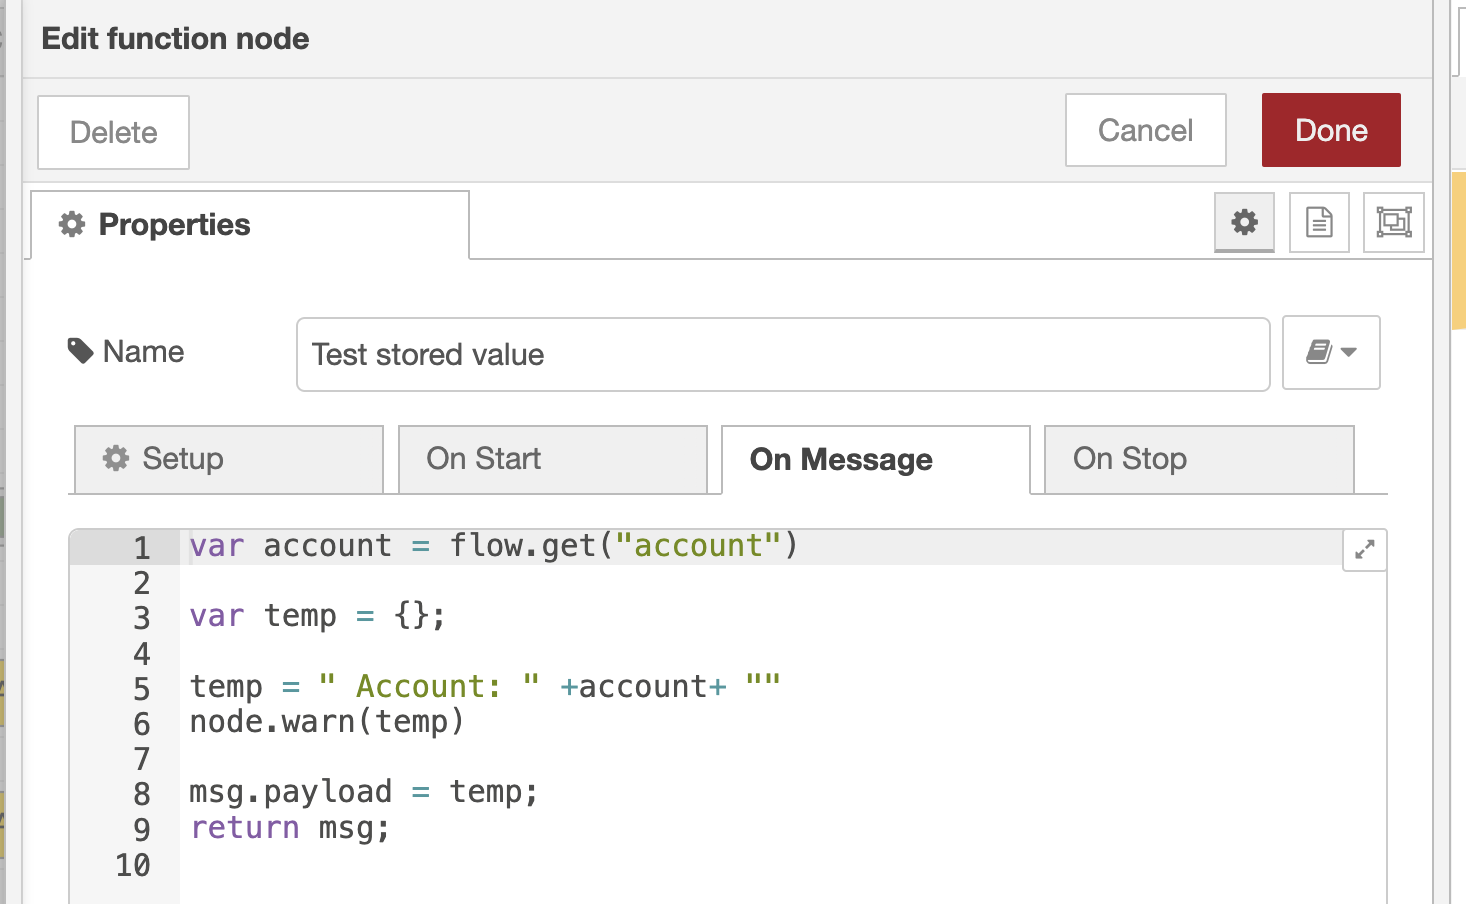
In this case, we only want the event to occur once when we click so we use the default "Repeat" setting which is "none". Notice that when we click on the inject node (which by default is named "timestamp" because the default injection is a unix timestamp), the stored flow variable appears in the debugger on the right even though we did add a debugger node to the flow. This is where we will expose you to some of the "low-code" elements of MachineTrader™. The function node shown below named "Test stored value" contains some simple JavaScript code that tells the node to display the content of the "txt" variable with node.warn(txt ) function.
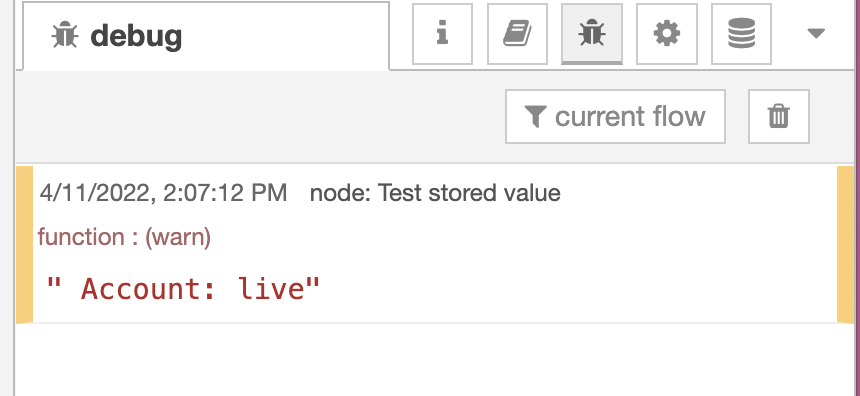
Output in debugger:
This concludes this lesson.